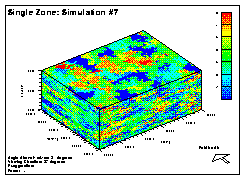
Realization #7
| Single Zone | Two Zone |
|

|
|
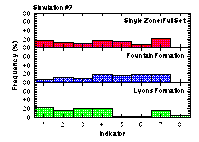
The indicator populations for each model are reasonably reproduced based
on the data distributions initially assumed (Top - Full Data set (single
zone), Middle - Fountain Formation (two zone), and Bottom - Lyons
Formation (two zone)).
Indicator #1 is underrepresented in the Lyons Formation, but we believe that has to do with data clustering in the NE corner of the site. |
|